基于Spring Boot配置OAuth2是一个比较简单的事情,但是看到相关的demo项目时,往往一脸懵。这是因为对于基础的概念不了解,面对一堆注解和注入,实在是搞不清楚互相之间的关系,承担着什么责任。
这篇文章将尝试将复杂的问题分解为简单的问题来帮助理解,不过这一篇确实有点长。如有谬误之处,敬请联系27952278@qq.com!
场景代入
有许多网站需要支持通过第三方登陆(如QQ, 微博),如访问join.thoughtworks.cn点击右上角的”注册|登陆”,弹出框:
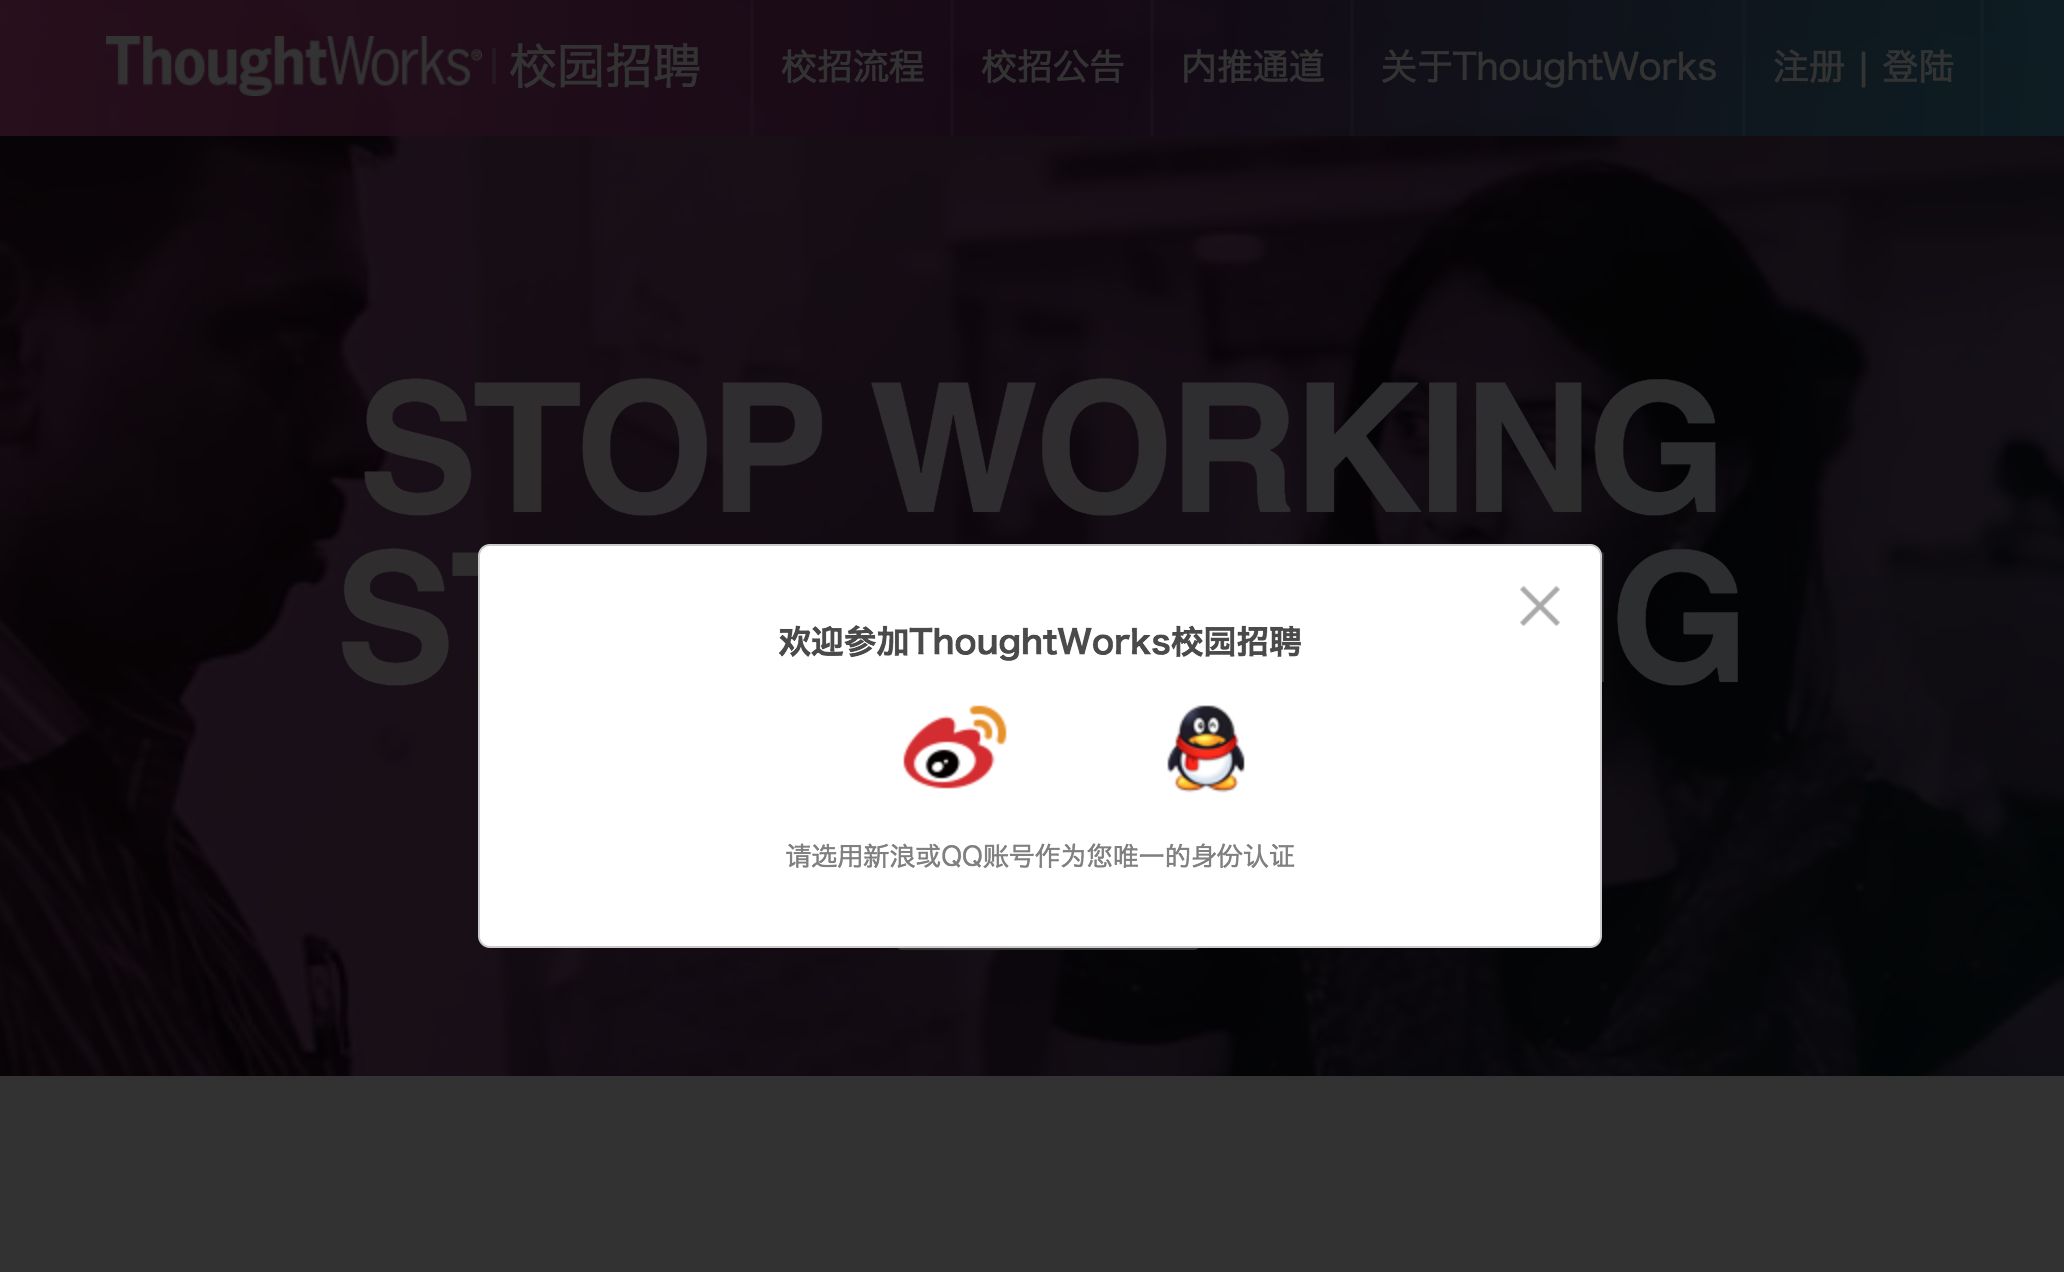 |
点击QQ的图标,将跳转到QQ的授权登陆页面:
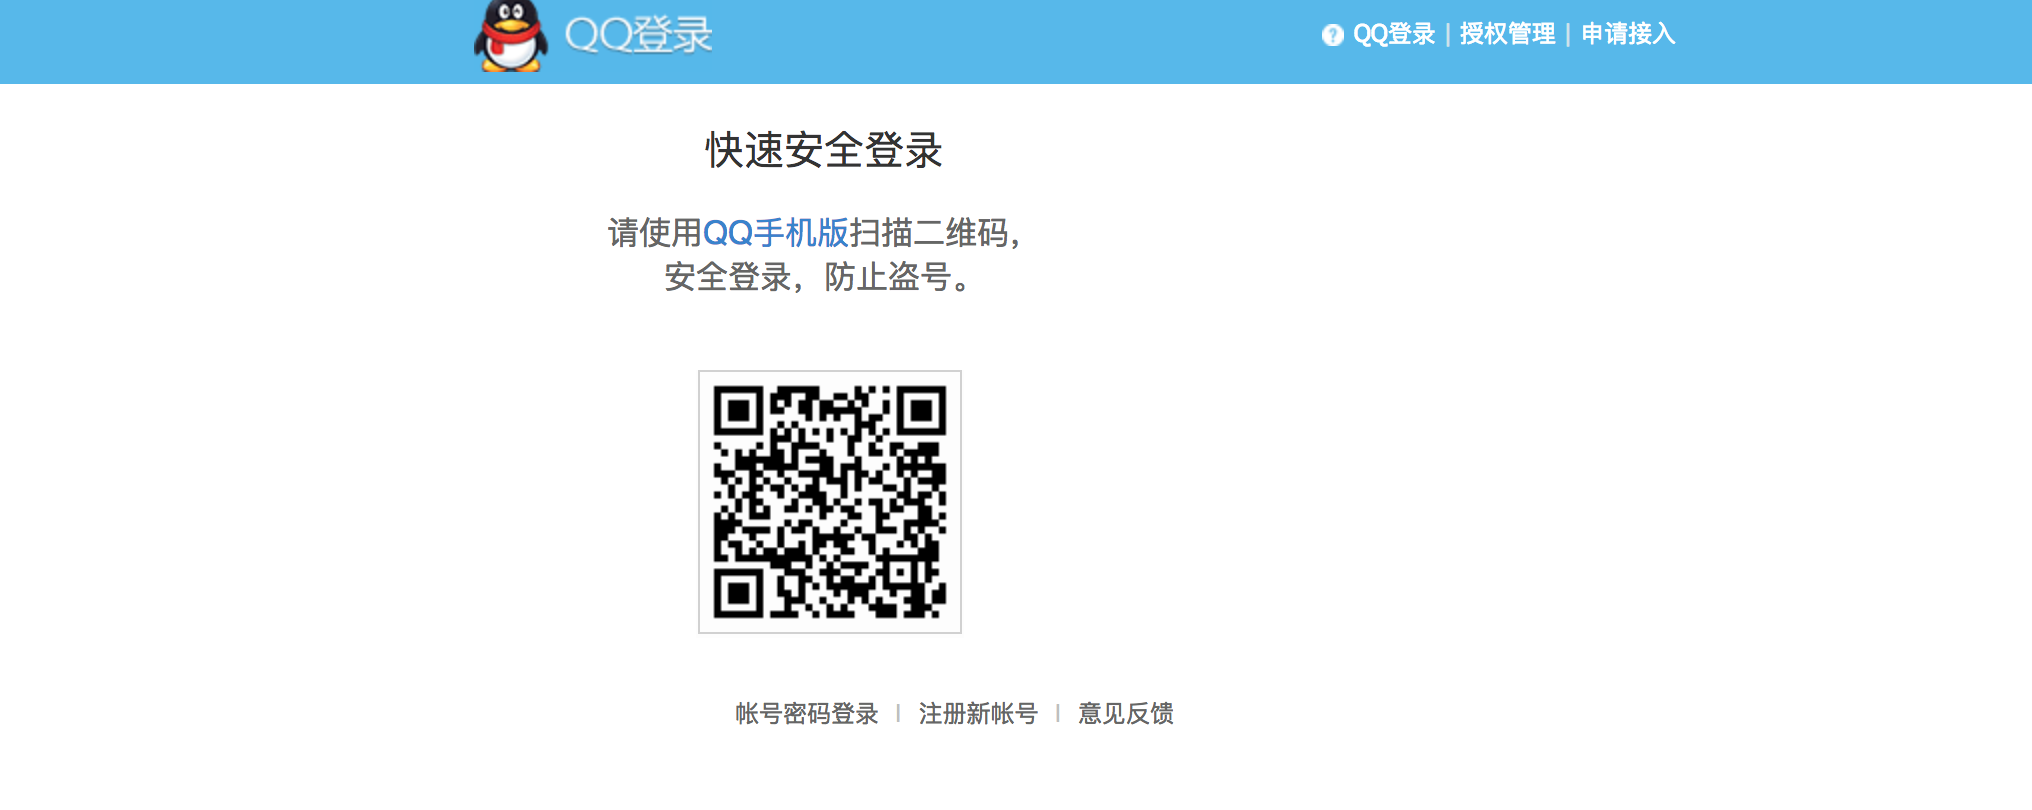 |
输入QQ用户名密码,验证成功后就跳转到join.thoughtworks.cn的个人信息补填的表单。至此,通过QQ登陆join.thoughtworks.cn已完成。
那么这中间都发生了什么了?这就需要介绍下这篇文章的一个主角OAuth(Open Auth)协议,其是是一个开放标准,允许用户授权第三方应用访问他们存储在另外的服务提供者上的信息,而不需要将用户名和密码提供给第三方应用或分享他们数据的所有内容。
上述场景中QQ就是服务提供者,而http://join.thoughtworks.cn就是第三方应用。
当然,大部分人能接触OAuth的场景也是上述的QQ/微博/微信登陆场景。而程序员们可能接触到的应用场景却要多一些。如下面的场景就可以使用OAuth来解决系统中的权限验证问题:
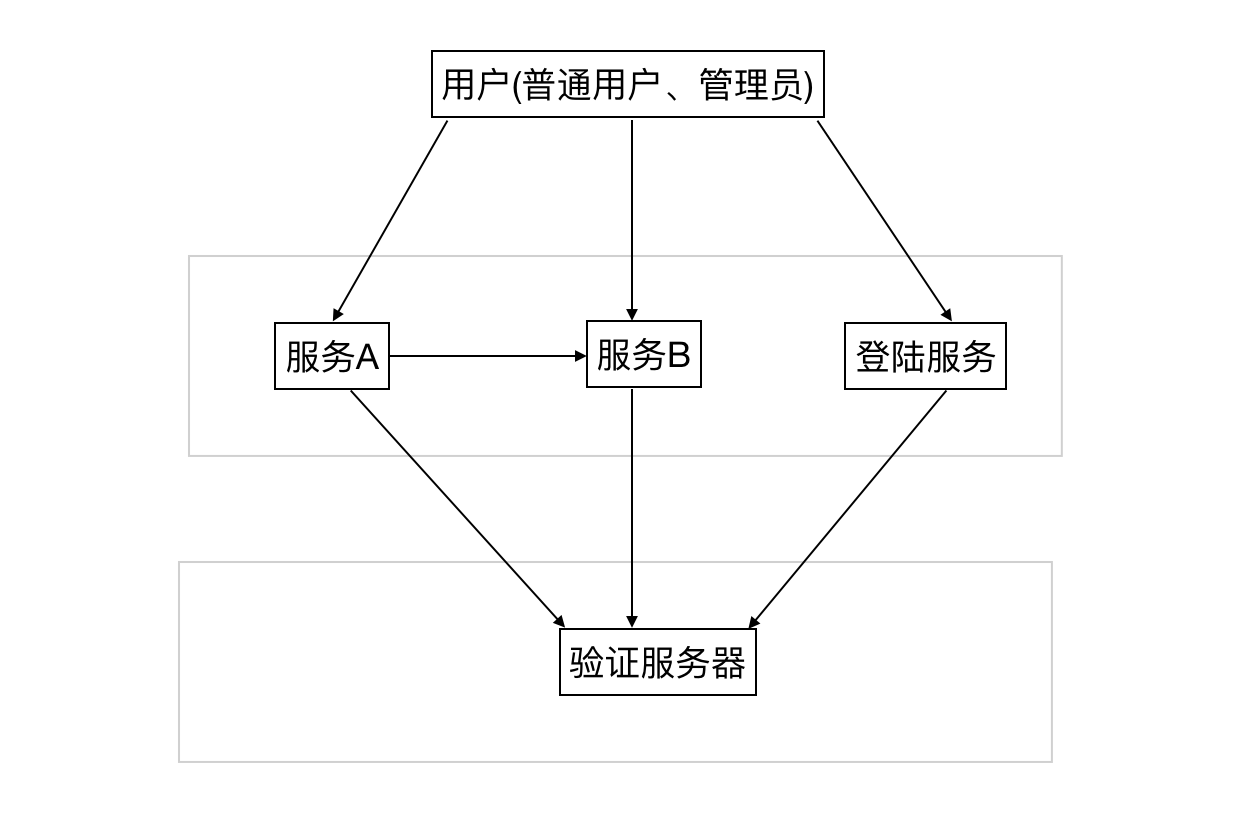 |
在这个简单系统中,用户(如访问者、管理员)通过浏览器访问服务A和服务B,而服务A也可能会调用到服务B。关于这个系统中的权限管理:
-
用户访问A和B时如果没有登陆则需要跳转到登陆页面
-
用户提交登陆表单时,请求将发到登陆服务
-
用户登陆成功后,需要再服务A和服务B将不再跳转登陆界面,会根据权限来决定是接受还是拒绝
-
不同的用户能够访问服务A以及服务B里不同的资源
-
服务A应只能访问服务B的部分资源
是不是看起来已经比较复杂的,Spring Security OAuth2可以用来帮助解决这个场景中的问题,但是问题解决不是一蹴而就的,需要一步步来分析和解决一些小的问题。
隔离资源与认证服务
为了把问题简单化,我们区分了资源服务器和认证服务器:
-
认证服务器提供接口,可以根据用户名和密码生成加密的token
-
资源服务器提供服务供用户访问,用户访问时需要携带上面生成的token
-
认证服务器与资源服务器不需要任何网络交互
将两个步骤做了分离,我们可以考虑下我们的测试场景了:
-
获取token
curl -XPOST "http://资源服务器地址/oauth/token" -d "grant_type=password&username=reader&password=reader" -
使用正确token访问资源服务器将返回正确消息
curl -H "Authorization: Bearer 获取到的TOKEN" "http://资源服务器地址/" -
使用错误token访问资源服务器将返回没有权限
curl -H "Authorization: Bearer 任意错的TOKEN" "http://资源服务器地址/"或
curl -H "http://资源服务器地址/"
基于以上考虑,我们将简历两个项目,一个认证服务器,另一个是资源服务器。由于是第一个例子,会展示较多的代码。如果不想看代码也可以直接跳到小结部分。
认证服务器
认证服务器需要生成加密Token,那么根据什么生成呢,需要引入另一个概念非对称加密。如果不考虑底层原理,非对称加密解释起来也比较简单:
-
有这么个秘钥对(KeyA, KeyB),KeyA不等于KeyB
-
KeyA加密后的密文只有KeyB才能解密,同理KeyB加密的密文只有KeyA才能解密
有了非对称加密,资源服务器与认证服务器就能间接安全交互了:
-
认证服务器用KeyA加密用户信息生成加密token发给用户
-
认证服务器把KeyB公布出来,资源服务器可以在启动前就拷贝持有KeyB
-
用户带着token访问资源服务器,资源服务器用KeyB解密token,如果解密成功就能确认token是通过认证服务器生成的
Spring安全框架里的spring-security-jwt提供了这种非对称加密的解决方式,不过编码之前,我们需要先生成非对称的密钥对。
-
生成jwt存储key的文件jwt.jks
keytool -genkeypair -alias jwt -keyalg RSA -dname "CN=jwt, L=Berlin, S=Berlin, C=DE" -keypass mySecretKey -keystore jwt.jks -storepass mySecretKey -
而后生成密钥对, 注意将生成的密钥对中的public key部分保存到public.cert文件,以便后续分发给资源服务器用
keytool -list -rfc --keystore jwt.jks | openssl x509 -inform pem -pubkey -
将文件jwt.jks和public.cert拷贝到项目的src/main/resources中
接下来就是使用Spring Boot来创建应用并配置和注入安全相关参数/类:
-
创建Spring Boot程序的入口
@SpringBootApplication
public class JwtAuthServerApplication {

    public static void main(String[] args) {
        SpringApplication.run(JwtAuthServerApplication.class, args);
    }
}
同时在src/main/resources/application.properties中设置
server.port=9999。 -
添加Web安全配置,让其能够通过用户名(reader)和密码(密码)登陆,需要利用
WebSecurityConfigurerAdapter和注解@EnableWebSecurity@Configuration @EnableWebSecurity protected static class WebSecurityConfig extends WebSecurityConfigurerAdapter { @Override protected void configure(AuthenticationManagerBuilder auth) throws Exception { auth.inMemoryAuthentication() .withUser("reader") .password("reader") .authorities("FOO_READ", "ACTUATOR"); } } @RestController protected static class HelloController { @RequestMapping("/hello") private String hello() { return "hello"; } }访问hello节点后,
curl -u reader:reader "http://localhost:9999/hello",能够获取返回结果”hello”。如果使用错误的用户名访问将返回401。
用户有两个角色FOO_READ和ACTUATOR, FOO_READ是我们自定义的角色,ACTUATOR角色是为了做配置查看、相关功能统计,如访问/mappings可以查看所有的路由映射
-
配置应用为认证服务器,需要利用
AuthorizationServerConfigurerAdapter和注解@EnableAuthorizationServer@Configuration @EnableAuthorizationServer protected static class OAuth2Configuration extends AuthorizationServerConfigurerAdapter { @Override public void configure(AuthorizationServerSecurityConfigurer security) throws Exception { super.configure(security); } @Override public void configure(ClientDetailsServiceConfigurer clients) throws Exception { super.configure(clients); } @Override public void configure(AuthorizationServerEndpointsConfigurer endpoints) throws Exception { super.configure(endpoints); } }重启程序后如果访问http://localhost:9999/mappings,会发现已经增加了很多oauth相关的节点,如:
/oauth/authorize
/oauth/token
/oauth/check_token
/oauth/confirm_access
/oauth/error
但这时试图使用使用命令
curl -u reader:reader "http://localhost:9999/oauth/token"去获取token将失败,提示{ "timestamp": 1507853421226, "status": 401, "error": "Unauthorized", "message": "Error creating bean with name 'scopedTarget.clientDetailsService' defined in org.springframework.security.oauth2.config.annotation.configuration.ClientDetailsServiceConfiguration: Bean instantiation via factory method failed; nested exception is org.springframework.beans.BeanInstantiationException: Failed to instantiate [org.springframework.security.oauth2.provider.ClientDetailsService]: Factory method 'clientDetailsService' threw exception; nested exception is java.lang.UnsupportedOperationException: Cannot build client services (maybe use inMemory() or jdbc()).", "path": "/oauth/token" }大意是实例化ClientDetailsService时失败了。
-
配置ClientDetailsService,只需要覆盖
configure(ClientDetailsServiceConfigurer clients)的实现clients.inMemory() .withClient("web_app") .scopes("FOO") .authorities("FOO_READ") .authorizedGrantTypes("refresh_token", "password");inMemory意味着将client以及clientDetails都存储在内存中。后面就是配置一个client: clientId即客户端ID为”web_app”,scope即申请的权限范围为”FOO”,这个authorities列出权限角色,authorizedGrantTypes表示客户端的授权模式。
此时,如果访问
curl -XPOST "web_app:@localhost:9999/oauth/token" -d "grant_type=password&username=reader&password=reader"会提示错误:
{"error":"unsupported_grant_type","error_description":"Unsupported grant type: password"}明明已经配置了
authorizedGrantTypes("refresh_token", "password"),却提示此错误,查看/auth/token的handler的源码了:OAuth2AccessToken token = getTokenGranter().grant(tokenRequest.getGrantType(), tokenRequest); if (token == null) { throw new UnsupportedGrantTypeException("Unsupported grant type: " + tokenRequest.getGrantType()); }意味着如果如果生成的token为空,就会抛出此异常。而按之前的设想,我们是打算利用非对称密钥对的私钥来生成加密token的。
-
读取生成的存有私钥的jwt.jks文件,并生成TokenStore
@Bean public TokenStore tokenStore() { return new JwtTokenStore(jwtTokenEnhancer()); } @Bean protected JwtAccessTokenConverter jwtTokenEnhancer() { KeyStoreKeyFactory keyStoreKeyFactory = new KeyStoreKeyFactory(new ClassPathResource("jwt.jks"), "mySecretKey".toCharArray()); JwtAccessTokenConverter converter = new JwtAccessTokenConverter(); converter.setKeyPair(keyStoreKeyFactory.getKeyPair("jwt")); return converter; } -
获取的TokenStore注入到AuthorizationServerEndpointsConfigurer类中。
需要在
OAuth2Configuration类中实现configure方法如:@Autowired @Qualifier("authenticationManagerBean") private AuthenticationManager authenticationManager; @Override public void configure(AuthorizationServerEndpointsConfigurer endpoints) throws Exception { endpoints.tokenStore(tokenStore()).tokenEnhancer(jwtTokenEnhancer()).authenticationManager(authenticationManager); }这里的
authenticationManager是在WebSecurityConfig类中定义的:@Override @Bean public AuthenticationManager authenticationManagerBean() throws Exception { return super.authenticationManagerBean(); }通过
authenticationManager,WebSecurityConfig与OAuth2Configuration关联起来了。通过
curl -XPOST "web_app:@localhost:9999/oauth/token" -d "grant_type=password&username=reader&password=reader"就可以获取到token了,如{"access_token":"eyJhbGciOiJSUzI","token_type":"bearer","refresh_token":"eyJhbGciOiJSUzI1NiIs","expires_in":43199,"scope":"FOO","jti":"648f4380-d339-47dc-acd1-24f38b50e512"}注:由于生成的token都被比较长,这里做了截断。
至此,我们认证服务器已经搭建完成,通过用户名和密码即可向认证服务器获取token。
资源服务器
资源服务器为用户提供服务接口,其需要根据请求的token来判断是否是合法请求,是否有权限访问特定接口资源。
- 创建资源可访问资源
@SpringBootApplication
public class JwtResourceServerApplication {
    public static void main(String[] args) {
        SpringApplication.run(JwtResourceServerApplication.class);
    }

    @RestController
    @RequestMapping("/")
    protected static class HelloController {
        @GetMapping
        public String home() {
            return "home";
        }
    }
}
在application.properties中关闭默认开启的安全验证
server.port=9998
security.basic.enabled=false
management.security.enabled=false
此时
curl http://localhost:9998/将获取返回值”home”。 -
使用public.cert来解析token
@Configuration protected static class JwtConfiguration { @Autowired JwtAccessTokenConverter jwtAccessTokenConverter; @Bean @Qualifier("tokenStore") public TokenStore tokenStore() { System.out.println("Created JwtTokenStore"); return new JwtTokenStore(jwtAccessTokenConverter); } @Bean protected JwtAccessTokenConverter jwtTokenEnhancer() { JwtAccessTokenConverter converter = new JwtAccessTokenConverter(); Resource resource = new ClassPathResource("public.cert"); String publicKey = null; try { publicKey = new String(FileCopyUtils.copyToByteArray(resource.getInputStream())); } catch (IOException e) { throw new RuntimeException(e); } converter.setVerifierKey(publicKey); return converter; } } - 配置资源服务器
@Configuration
@EnableResourceServer
protected static class ResourceServerConfiguration extends ResourceServerConfigurerAdapter {
    @Override
    public void configure(ResourceServerSecurityConfigurer resources) throws Exception {
        resources.tokenStore(tokenStore);
    }

    @Autowired
    TokenStore tokenStore;
}
此时,资源服务器的配置已经完成,启动资源服务器后可以进行测试了:
curl "localhost:9998/"将返回401没有权限:{"error":"unauthorized","error_description":"Full authentication is required to access this resource"}而如果请求带了正确的token(从认证服务器获取的token),则将返回”home”
export TOKEN=eyJhbGciOiJSUzI
curl -H "Authorization: Bearer $TOKEN" "localhost:9998/"
如果curl命令携带的是不正确的token,或者public.cert不正确的话,都会提示invalid_token, Cannot convert access token to JSON
-
扩展一点,在资源服务器中我们没有见到角色FOO_READ发挥总用,那么其实如何发挥作用的呢
如果我们在JwtResourceServerApplication类上增加注解
@EnableGlobalMethodSecurity(prePostEnabled = true),而在资源上增加注解@PreAuthorize("hasAuthority('FOO_WRITE')")。这时curl -H "Authorization: Bearer $TOKEN" "localhost:9998/"也会返回Access is denied。因为从token中获取到的角色是FOO_READ,而这里需要FOO_WRITE角色才能访问的。
小结
基于生成的非对称秘钥,对于认证服务器来说:
-
通过集成WebSecurityConfigurerAdapter来配置认证用户的登陆信息(用户名与密码),并赋予用户(客户端)各种角色
-
通过集成AuthorizationServerConfigurerAdapter来配置OAuth2服务器
-
初始化OAuth2服务的各种客户端信息,设定客户端的授权模式
-
读取密钥对里的私钥,生成
JwtAccessTokenConverter并将其注入JwtTokenStore -
配置
AuthorizationServerEndpointsConfigurer,注入JwtTokenStore以及来自WebSecurityConfigurerAdapter的AuthenticationManager
对于资源服务器来说:
-
构建需要访问的资源,往往即是一个可访问的api节点
-
读取密钥对里的公钥,注入公钥为JwtAccessTokenConverter的verifierKey,将
JwtAccessTokenConverter并将其注入JwtTokenStore中 -
将
JwtTokenStore注入到ResourceServerConfigurerAdapter中 -
对于资源访问的扩展,可以
@EnableGlobalMethodSecurity(prePostEnabled = true)来打开访问资源前验证安全的开关,@PreAuthorize("hasAuthority('XXXXX')")来给每个handler设定准许访问的客户端角色
单点登录(SSO)
上一章的例子是将认证服务器与资源服务器隔离,用户登陆资源服务器来获取token,而后携带token来访问资源服务器来获取资源。资源服务器与认证服务无直接交互。
这一章讨论的场景是用户使用token登陆时,资源服务器需要发送请求到认证服务器来获取对token的验证。